
Suzanne Williamson, RD
Registered dietitian and founder of Frugal Organic Mama. I grow carrots in our zone 6b garden every year — and I learned the hard way that treating them like green beans (3 minutes for everything) ruins them. Carrots are denser, sweeter, and more sensitive to timing than most garden vegetables. This guide is the method I now use every harvest season.
🥕 Need exact timing for your batch?
The blanching timer covers carrot slices, baby carrots, and 25+ other vegetables — with ice bath alerts and altitude adjustments built in.
How to Blanch Carrots: The 2-Minute Rule That Saves Your Harvest
If you have blanched green beans before, you already know the basics. Boiling water, ice bath, done. Then you try carrots — and suddenly you are staring at a bag of pale, flavorless sticks that taste more like cardboard than the sweet carrots you pulled from the garden.
Carrots are different. Their dense cell structure traps heat unevenly, and their natural sugar content makes the timing window between "perfectly blanched" and "mushy" razor-thin. But get it right — and a 2-minute investment pays back 12 months of usable, flavorful carrots straight from your freezer.
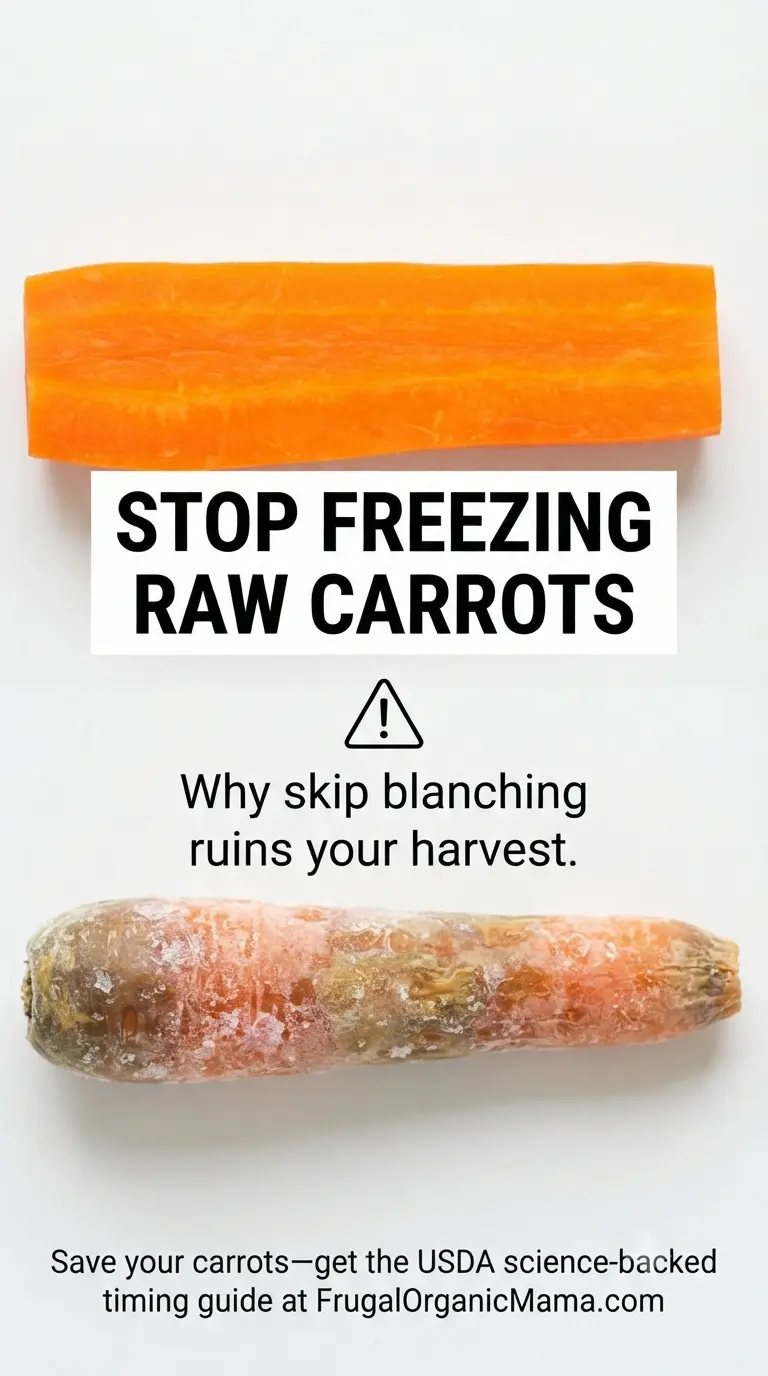
Blanching carrots for exactly 2 minutes in boiling water followed by a 2-minute ice bath stops the enzyme activity that would otherwise turn your frozen carrots into gray, flavorless sticks within 3 months.
Why Blanching Carrots Matters
Carrots are uniquely demanding when it comes to blanching. Their dense structure traps heat unevenly, and their natural sugar content makes the timing critical — under-blanch and enzymes ruin the flavor; over-blanch and the sweetness turns to bland mush.
Two enzymes are the culprits, and carrots have more of both than most garden vegetables:
- Peroxidase — remains active at freezer temperatures (0°F). It slowly breaks down beta-carotene, turning bright orange carrots pale and giving them that hay-like, stale flavor.
- Lipoxygenase — oxidizes the natural oils in carrots, creating off-flavors that taste like cardboard.
The USDA recommends blanching carrots specifically because these enzymes are more aggressive in root vegetables than in above-ground crops. Raising the internal temperature to 190°F permanently denatures them.
The result is a carrot that stays bright orange, maintains its sweetness, and retains its texture for 12 months — compared to 3 months for unblanched carrots. That is a 4× return on a 2-minute investment.
Carrot Blanching Time Chart
This is the table you will reference every harvest. Bookmark it.
| Cut Size | Boil Time | Steam Time | Ice Bath Time |
|---|---|---|---|
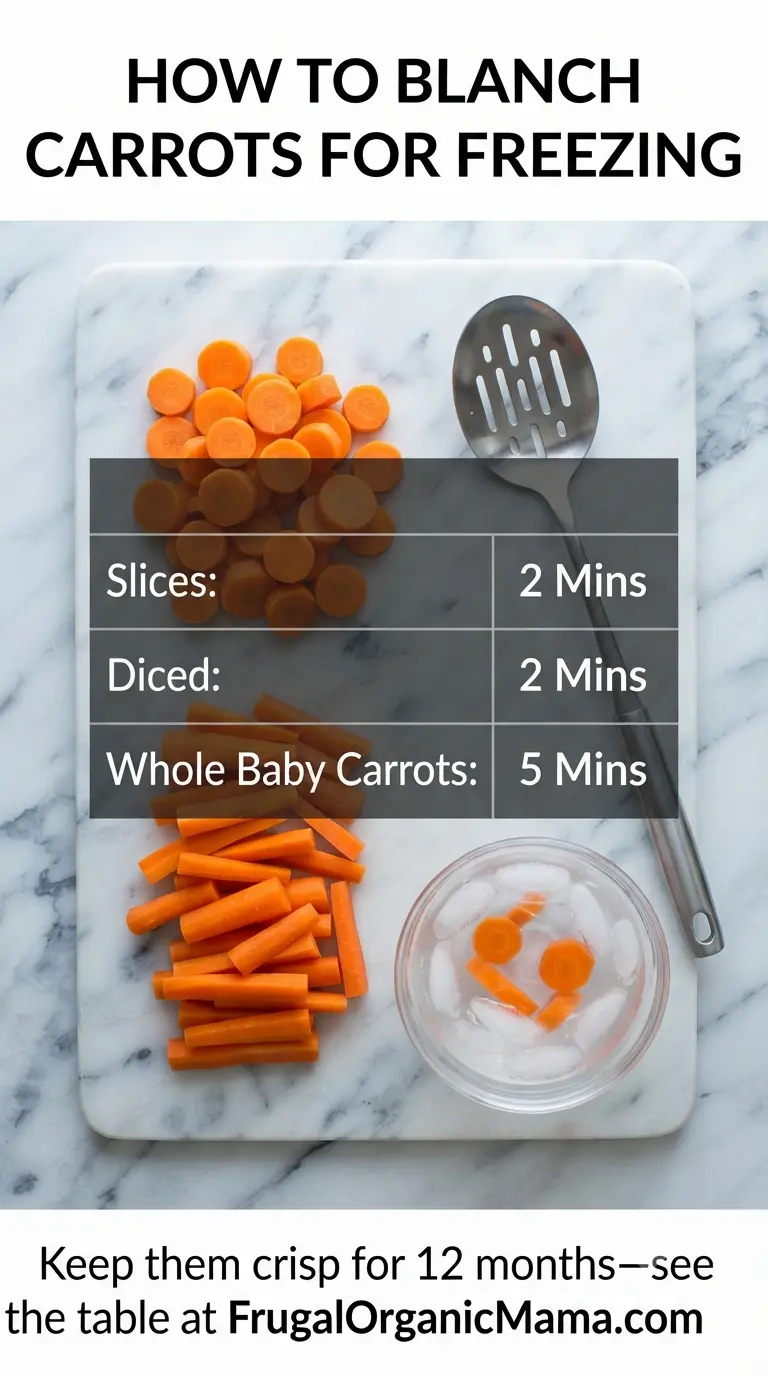
| ¼-inch slices or diced | 2 min | 3 min | 2 min |
| ½-inch slices or diced | 3 min | 4 min | 3 min |
| Whole baby carrots | 5 min | 8 min | 5 min |
| Julienne (matchstick) | 1.5 min | 2.5 min | 1.5 min |
Timing rule: The timer starts when the water returns to a full boil after adding carrots. Dropping carrots into boiling water drops the temperature — do not start counting until it comes back up.
If you live above 3000 feet, add 1 minute to all boil times — water boils at a lower temperature at elevation, so enzymatic deactivation takes longer.
Equipment You Actually Need
You don't need specialized gear. Here's what earns its place:
- Large pot (8+ quarts): You need enough water to maintain a rolling boil after adding carrots. A crowded pot drops the water temperature too much.
- Slotted spoon or spider strainer: For transferring carrots from boiling water to ice bath. Carrot slices are small and can slip through wide slots — use a fine-mesh strainer if you have one.
- Large bowl with ice water: Use a 2:1 ratio of ice to cold water. The ice bath must stay cold enough to stop cooking immediately.
- Clean kitchen towels or salad spinner: Carrots have higher surface moisture than green beans or broccoli. Getting them fully dry is critical before freezing.
- Timer: Set it the second the water returns to a boil. Guessing leads to under- or over-blanching.
Step-by-Step: How to Blanch Carrots
Step 1: Prepare the carrots. Wash and peel. Trim ends. Cut into uniform pieces — ¼-inch slices for most uses. Uniform size ensures even blanching. Never mix ¼-inch and ½-inch pieces in the same batch — the smaller pieces will be over-blanched and mushy while the larger ones are still under-processed. Keep baby carrots whole and process them separately.
Step 2: Bring water to a rolling boil. Fill your pot with at least 4 quarts of water. Add 1 tablespoon of salt per quart — it helps preserve color and seasons the carrots from the inside. Bring to a full, vigorous boil.
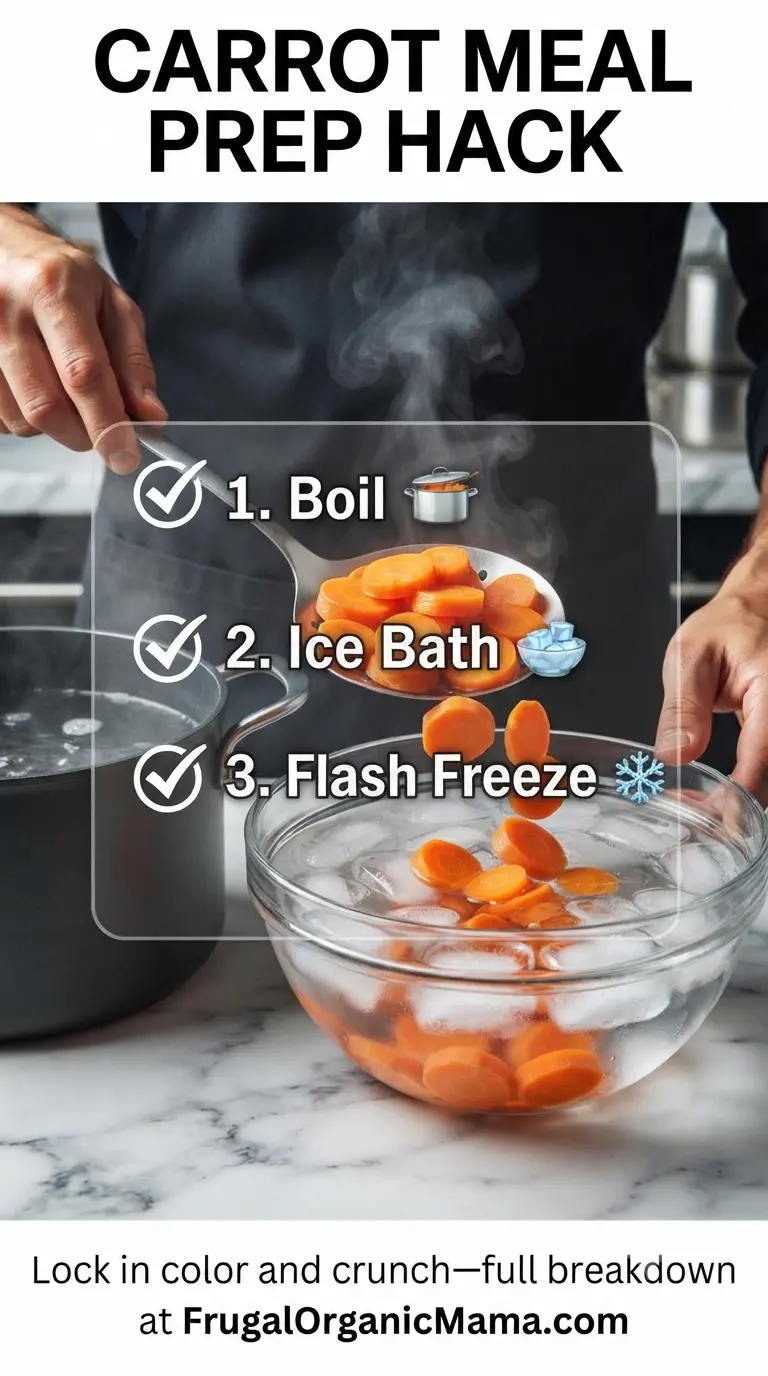
Step 3: Blanch the carrots. Drop carrots into boiling water. Wait for the boil to return. Then start your timer: 2 minutes for ¼-inch slices, 3 minutes for ½-inch, 5 minutes for baby carrots. Stir once after 30 seconds. Do not cover the pot.
Step 4: Shock in ice bath. Have your ice bath ready before you start boiling. Transfer carrots immediately when the timer goes off — every second counts. Leave them for 2 minutes (¼-inch) or 3 minutes (½-inch), 5 minutes for baby carrots. Carrot pieces are dense enough that residual heat keeps cooking from the inside out if the ice bath is too short.
Step 5: Drain and dry. Remove from ice bath. Spread on a clean towel or spin in a salad spinner to remove surface moisture. This step matters more for carrots than for most vegetables — their smooth surface holds water droplets that form ice crystals during freezing.
How to Freeze Blanched Carrots
Tray-freeze method (recommended). Spread dried carrot pieces in a single layer on a baking sheet lined with parchment paper. Do not let pieces touch. Freeze for 1–2 hours until each piece is individually frozen. Transfer to freezer bags or containers. This prevents clumping and lets you pour out exactly what you need.
Direct bagging. If short on time, pack directly into freezer bags. Press out as much air as possible — a straw works if you don't have a vacuum sealer. Label with date and cut size. The tradeoff is a solid block you will need to break or thaw entirely.
Vacuum sealing. Extends quality to 18 months by eliminating freezer burn entirely. Optional but worth it for large harvests.
Label everything. Write the date, cut size, and blanch method on every bag. You will not remember in 6 months whether those slices are ¼-inch or ½-inch.
Shelf life. Properly blanched carrots maintain peak quality for 10–12 months at 0°F.
Common Mistakes (And How to Fix Them)
Not sorting by size. This is the most common error with carrots. Mixing ¼-inch and ½-inch slices guarantees half the batch is ruined.
Skipping the ice bath. Carrots are dense enough to hold significant residual heat. Without an immediate cold shock, they continue cooking from the inside out — you get partially cooked rather than blanched carrots.
Overcrowding the pot. More than 1 pound of carrots per gallon of water drops the temperature too much. Blanch in batches.
Under-blanching. Two minutes for ¼-inch slices is the minimum. Going shorter does not fully deactivate peroxidase. Your carrots will develop blush spots and off-flavors within 3 months.
Not drying before freezing. Carrots hold more surface moisture than green beans or broccoli. Wet carrots form large ice crystals that rupture cell walls, releasing water when thawed.
Using Frozen Blanched Carrots
Frozen blanched carrots are already partially cooked. Here is how to use them:
- Soups and stews: Add directly from frozen in the last 10–15 minutes. No thawing needed.
- Roasting: Toss frozen carrots with oil and seasonings. Roast at 425°F for 20–25 minutes — they will not crisp like fresh but work well for quick weeknight meals.
- Sautéing: Add frozen directly to a hot pan with butter or oil. Cook 5–7 minutes until heated through.
- Steaming: Steam from frozen for 4–5 minutes as a quick side.
- Baby food purée: This is one place carrots shine. Blanched carrots make smoother, sweeter purées than raw — the blanching process breaks down fiber and concentrates the natural sugars. Steam-blanching is best here since it retains slightly more nutrients than boiling.
Do not thaw before cooking unless the recipe specifically calls for it. Thawing releases moisture and makes carrots waterlogged. Cook from frozen — everything your carrots go into will finish them perfectly.
🥕 Find your carrot blanching time instantly
Enter your carrot size and amount — get the exact cooking time, ice bath duration, and altitude-adjusted results.
The Bottom Line
Blanching carrots is a 2-minute investment that pays back 12 months of usable vegetables. The key is precision: sort by size, time each batch separately, ice bath immediately, and dry thoroughly before freezing.
I learned this the hard way in February 2021 when I pulled a bag of unblanched carrots from my chest freezer and they were pale, limp, and tasted like cardboard. That bag went straight to the compost pile — 12 pounds of garden carrots I spent hours harvesting and prepping. Don't make my mistake.
Set your timer. Prepare your ice bath. Blanch every batch. Your future self — the one opening a bag of bright orange, sweet carrots in January — will thank you.
Related Reading
- How to Blanch Green Beans — The most common vegetable people compare carrots to
- How to Blanch Broccoli — Another dense vegetable with precise timing requirements
- Blanching Vegetables: The Complete Guide — Universal method covering all vegetables
- Why Blanching Prevents Freezer Burn — The enzyme science behind every blanch
- Blanching Hub — All blanching guides, tool access, and vegetable-specific times in one place